How To Floss Your Teeth With Pictures
Keeping your mouth clean and avoiding dental issues depend on taking proper care of your teeth. While brushing your teeth is important, it’s equally important to floss regularly to remove plaque and food particles from between your teeth and along the gumline. In this comprehensive guide, we’ll walk you through the step-by-step process of how to floss your teeth with pictures, ensuring that you can maintain a healthy smile for years to come.
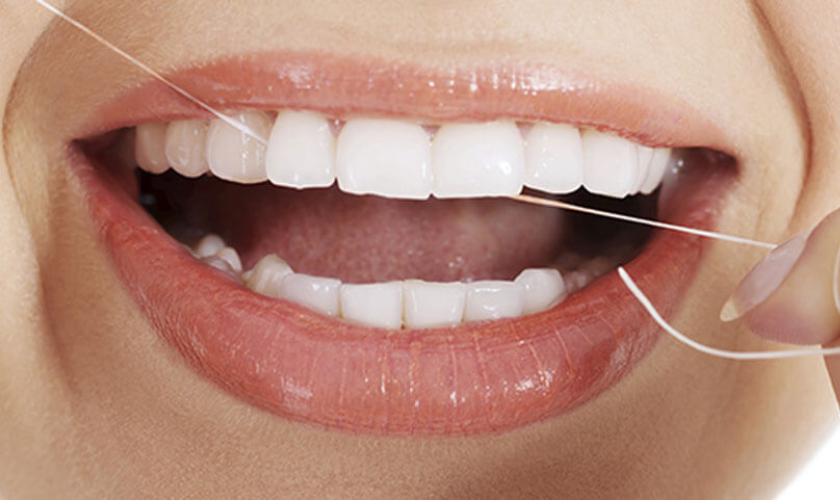
what is dental flossing?
Dental flossing is an oral hygiene practice used to remove food particles and plaque from between the teeth and along the gumline. It involves gently inserting a thin strand of dental floss between the teeth and sliding it up and down to dislodge debris and plaque. Flossing helps to prevent cavities, gum disease, and bad breath by cleaning areas that a toothbrush may not reach effectively. It’s typically recommended to floss at least once a day, ideally before brushing your teeth.
Importance Of Floss Your Teeth With Pictures Daily
- Plaque removal: Dental floss helps remove plaque buildup between teeth and along the gumline that brushing alone cannot reach. If plaque, a sticky layer of germs, is not routinely cleaned, it can cause gum disease and tooth decay.
- Prevents cavities: Flossing removes food particles trapped between teeth, preventing bacteria from feeding on them and producing acids that can lead to tooth decay and cavities.
- Gum health: Regular flossing helps prevent gum disease by removing plaque and debris that can irritate and inflame the gums, leading to gingivitis and, if left untreated, periodontitis.
Step 1: Gather Your Supplies
Prepare yourself for the flossing process by gathering all the essential items. You’ll require either dental floss or floss picks, the latter being compact plastic tools featuring a length of floss threaded between two prongs. Opt for whichever suits your comfort and convenience best. Additionally, consider having a mirror nearby to aid in visualizing the process as you Floss Your Teeth With Pictures.
Step 2: Choose the Right Floss
When selecting dental floss, there are several options, including waxed or unwaxed, flavored or unflavored, and traditional floss or floss picks. Ultimately, the best floss is one that you’ll use consistently, so choose whichever type you prefer.
Step 3: Start with a Generous Length of Floss
Cut a piece of floss that’s approximately 18 inches long. This allows you to use a fresh section of floss for each tooth and gives you enough length to maneuver comfortably around your mouth.
Step 4: Wrap the Floss Around Your Fingers
Hold the floss between your thumbs and index fingers, leaving about 1-2 inches of floss to work with. Use your middle fingers to guide the floss as you move it between your teeth.
Step 5: Slide the Floss Between Your Teeth
Using a back-and-forth motion, gently move the floss between your teeth. Be careful not to snap the floss against your gums, which can cause irritation or bleeding.
Step 6: Curve the Floss Around Each Tooth
Once the floss is between your teeth, curve it into a C shape around one tooth and gently glide it up and down along the side of the tooth and just below the gumline. On the neighboring tooth, repeat these steps.
Step 7: Use a Fresh Section of Floss for Each Tooth
After cleaning the surfaces of two teeth, unwind a fresh section of floss from your fingers to use on the next set of teeth. This helps prevent the spreading of bacteria and plaque from one tooth to another.
Step 8: Floss Every Tooth
Continue flossing each tooth, moving methodically around your mouth. Pay close attention to the back molars, as they can be harder to reach but are prone to food buildup and decay.
Step 9: Rinse Your Mouth
Once you’ve finished flossing, rinse your mouth thoroughly with water to remove any loosened plaque or debris.
Step 10: Follow Up with Brushing
After flossing, be sure to brush your teeth using fluoride toothpaste and a soft-bristled toothbrush. Spend at least two minutes brushing, making sure to get all the surface area of your teeth and paying close attention to the gum line.
Floss Your Teeth With Pictures serves as a comprehensive guide to maintaining optimal oral hygiene and preventing dental issues such as cavities and gum disease. By adhering to the step-by-step instructions provided, integrating flossing into your daily oral care regimen becomes effortless. This consistent practice ensures the long-term health of both your teeth and gums. Should you have any inquiries or apprehensions regarding flossing or your overall dental well-being, do not hesitate to seek guidance from a reputable dentist in McKinney. Remember, cultivating a healthy smile commences with establishing sound oral hygiene habits, and making regular flossing a cornerstone of your routine.